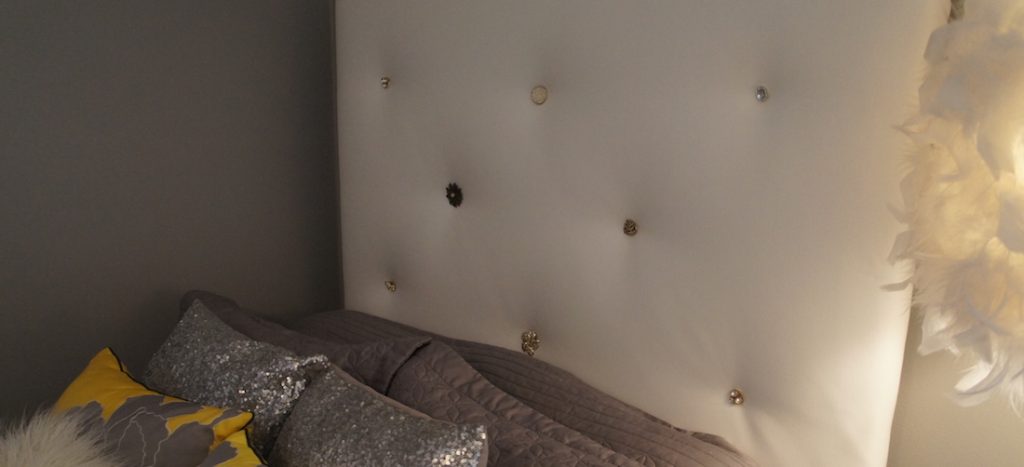
Turn an outdated and dull headboard into a stylish, one-of-a-kind focal point.
Estimated project time: 4 hours
Project level: Intermediate
Materials needed:
• Old wooden headboard
• Polyester batting, measured at least 8 inches (4 inches per side) wider and taller than the dimensions of the headboard
• Fabric of your choice, measured at least 8 inches (4 inches per side) wider and taller than the dimensions of the headboard. (We suggest a more structured fabric, such as vinyl, for this project.)
• Spool of thin wire
• 20-gage wire, cut into 9 10-inch pieces
• 8 medium-sized flat buttons with steel backs
• 8 larger decorative buttons or broaches (Search antique shops or garage sales for some of these great finds!)
Tools needed:
• Kitchen or crafting scissors
• Staple gun
• Electric drill
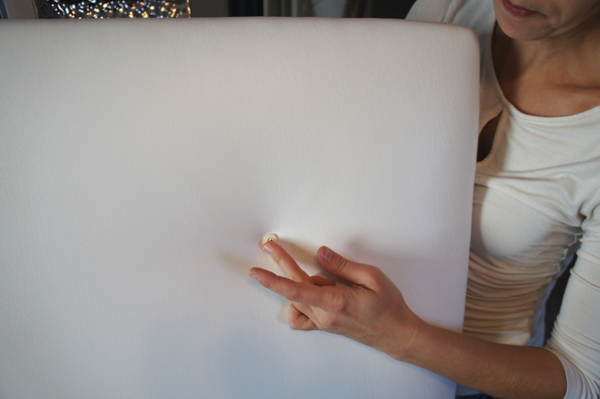
Step 1:
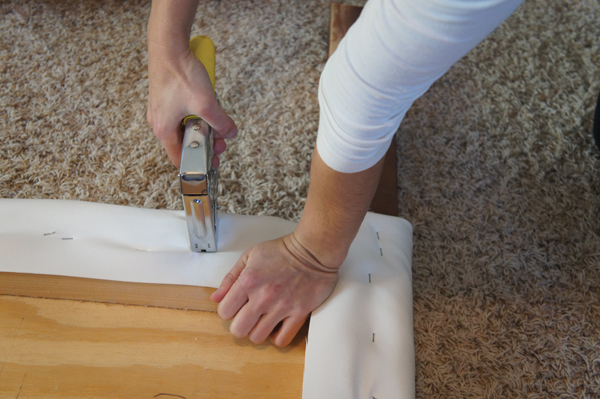
Cut the batting and fabric to size. Lay the front of the headboard flat on the batting and fabric, and pull it taut. Using a staple gun, secure the fabric around all edges of the headboard. Note: For this headboard, a white vinyl was used.
Step 2:
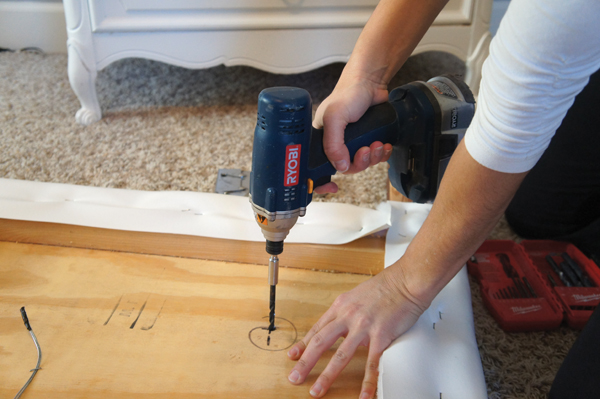
Measure out and mark nine different holes on the back of the headboard to figure out where the buttons will be displayed. Prop the headboard up. Using an electric drill, drill a hole at each of the nine marked points, through the wood, batting and fabric. Make sure to drill from the back of the headboard to the front to ensure the hole in the front is a clean cut.
Step 3:
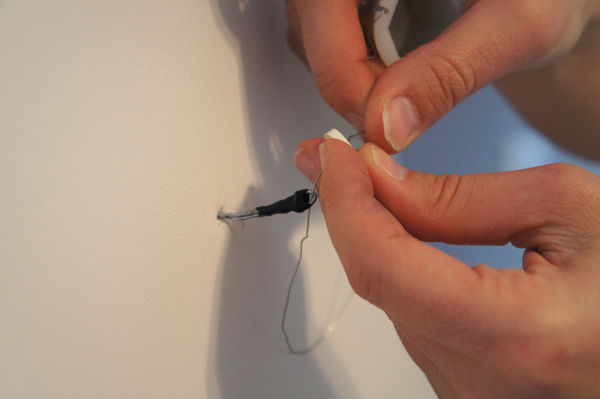
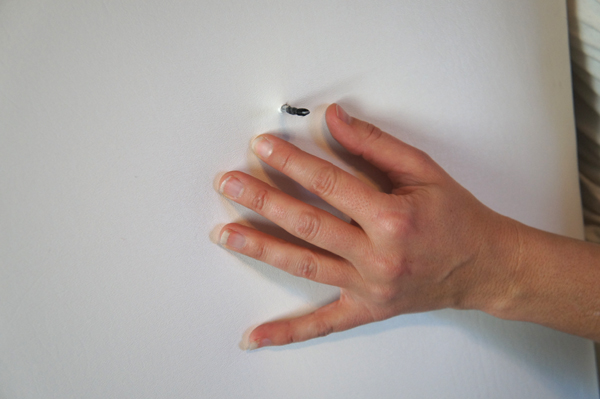
Bend a piece of the 10-inch wire in half, and push it through each hole from the back to the front. This will act as the anchor. Once that is through, secure one of the flat buttons onto the anchor using smaller wire by lacing the wire through the loop that was created at the end of the anchor and the holes of the button. Double back through the holes to ensure the wire stays on the anchor.
Step 4:
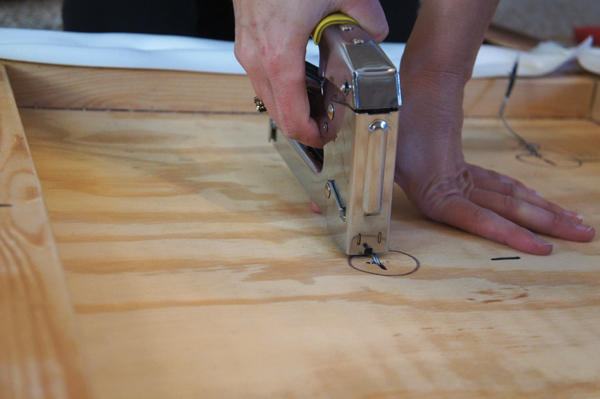
Pull the anchor back toward the back of the headboard as tightly as possible, and secure it with a few staples. The more secure the anchor is, the more of a tufted look your headboard will have. Note: It is especially important to use buttons with steel backs because the force of the anchor will cause buttons with a plastic back to pop off over time.
Step 5:
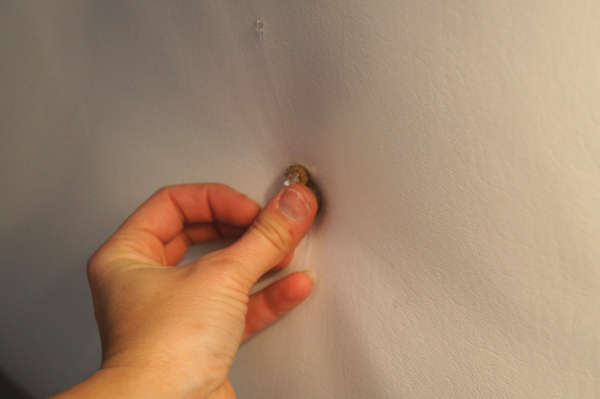
Once all nine anchors and buttons have been secured, hot glue the broaches or bigger buttons onto the base buttons. Once the glue is dry, reconnect the headboard to the bedframe, and enjoy!
Bonus Project:
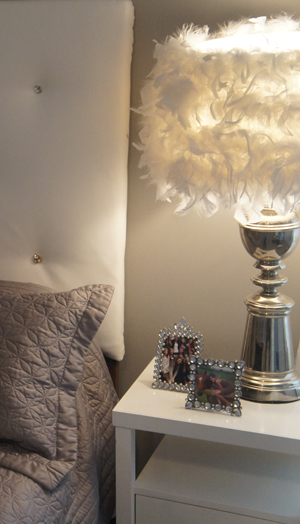 Take a plain lampshade, and use spray adhesive to attach a feathered boa. In minutes, you can update an ordinary lamp to diva status.